Media library
All the media files (such as images, GIFs etc.) used on the processes that were uploaded to processes are listed in the media library. This is where you can manage all existing media files or upload new files.
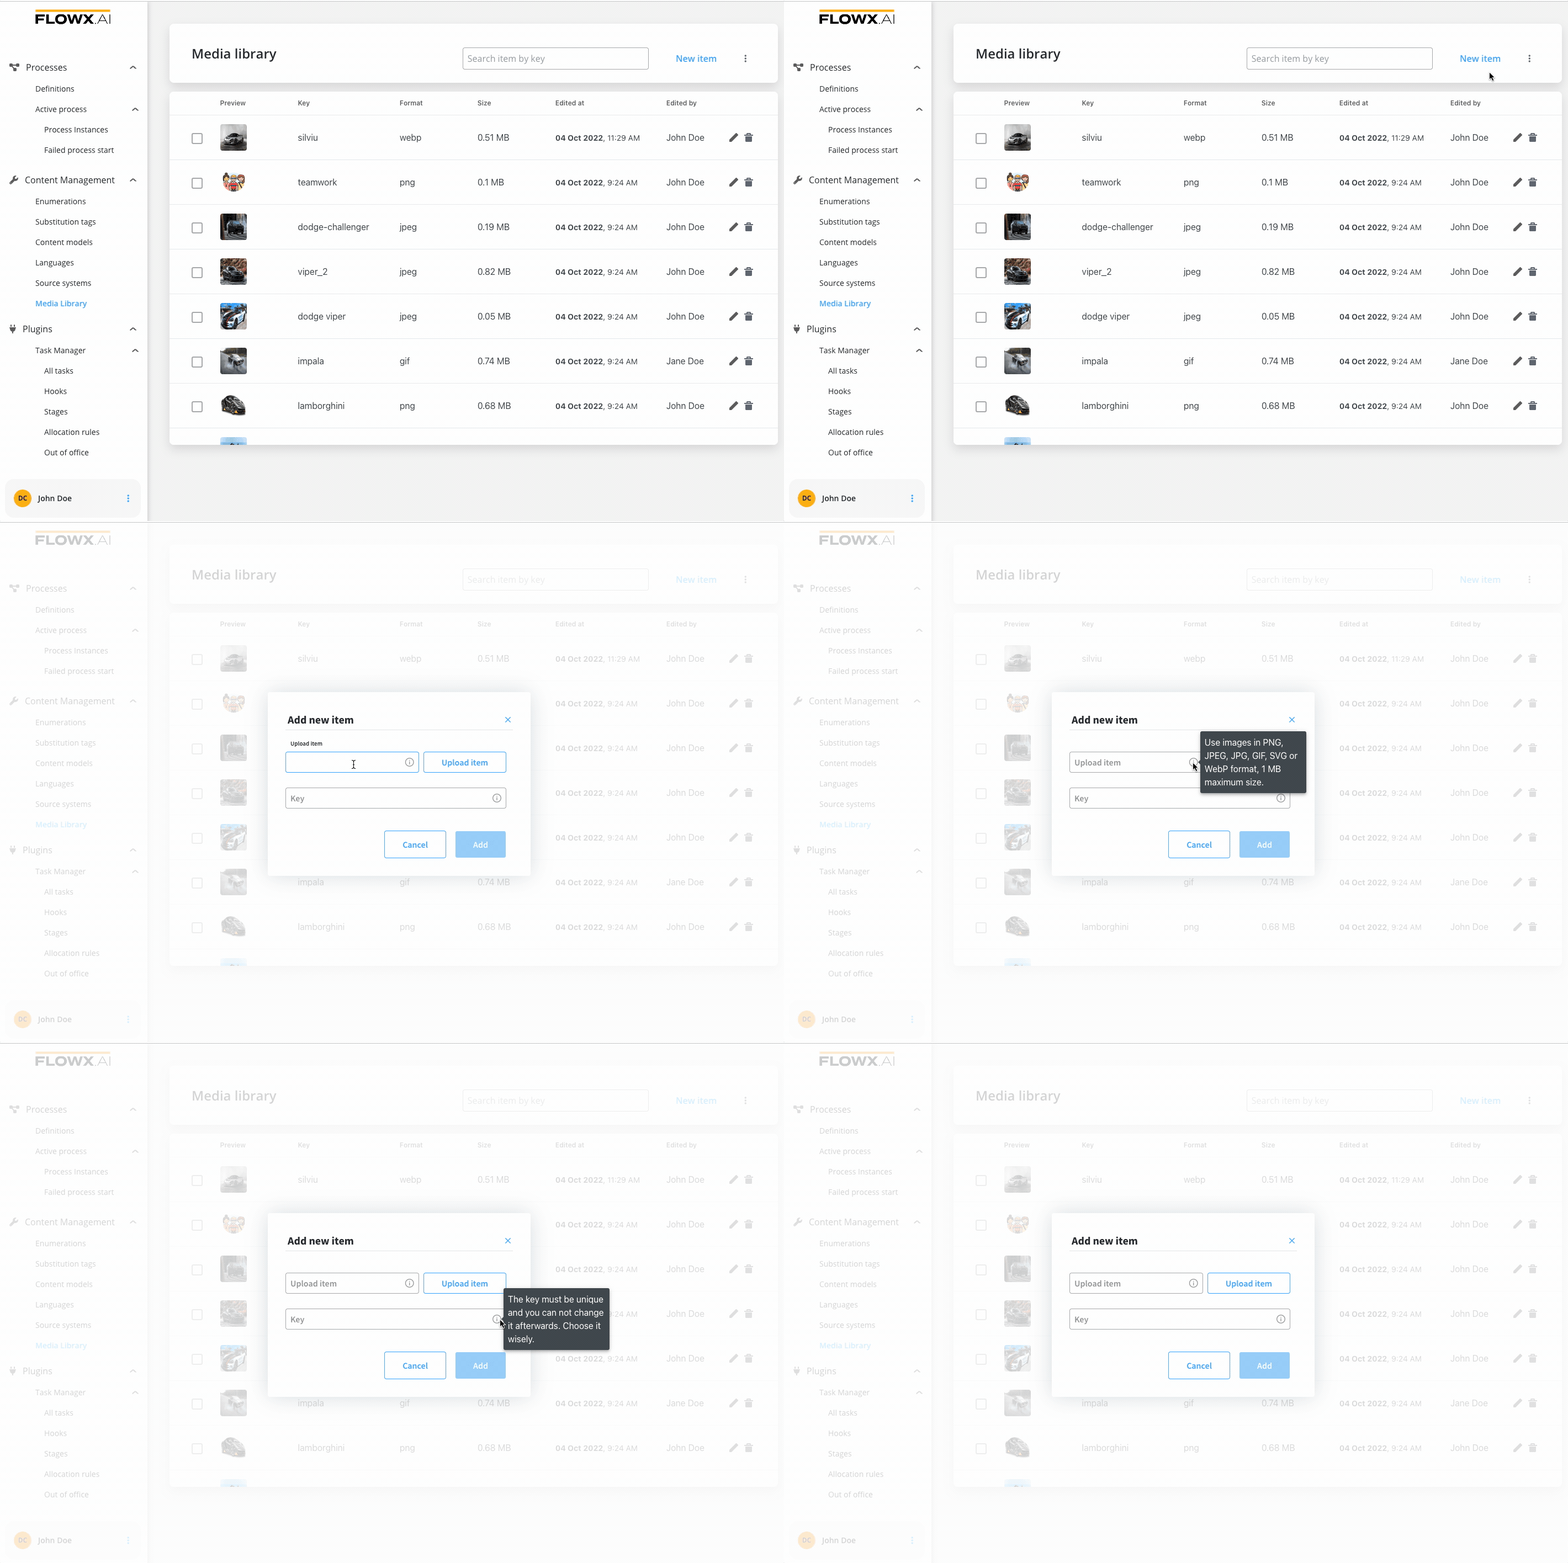
You can also upload an image directly to the Media Library on the spot when configuring a process using the UI Designer. More information here.
Uploading a new asset
To upload an asset to the Media Library, follow the next steps:
- Open FLOWX Designer.
- Go to Content Management tab and select Media Library.
- Click Add new item, the following details will be displayed:
- Upload item - opens a local file browser
- Key - the key must be unique, you cannot change it afterwards
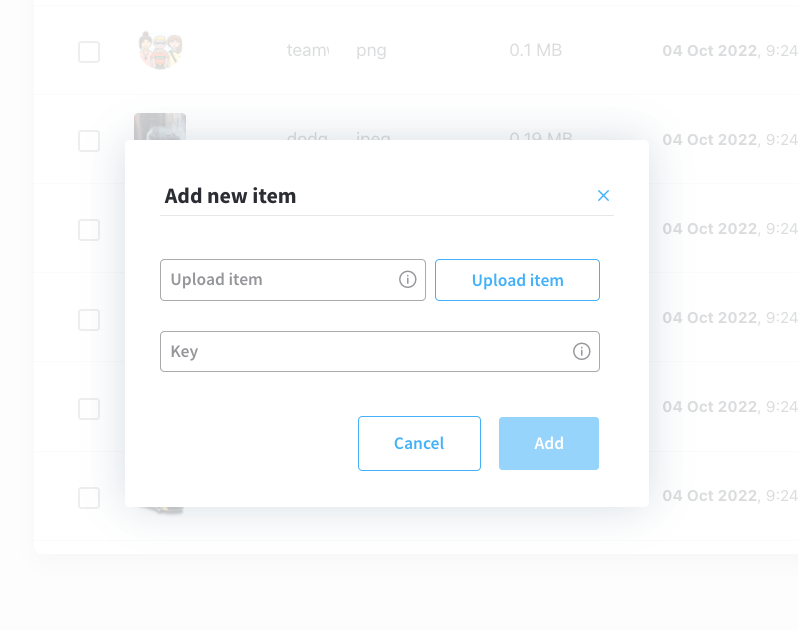
- Click Upload item button and select a file from your local browser.
- Click Upload item button again to upload the asset.
Supported formats: PNG, JPEG, JPG, GIF, SVG or WebP format, 1 MB maximum size.
Displaying assets
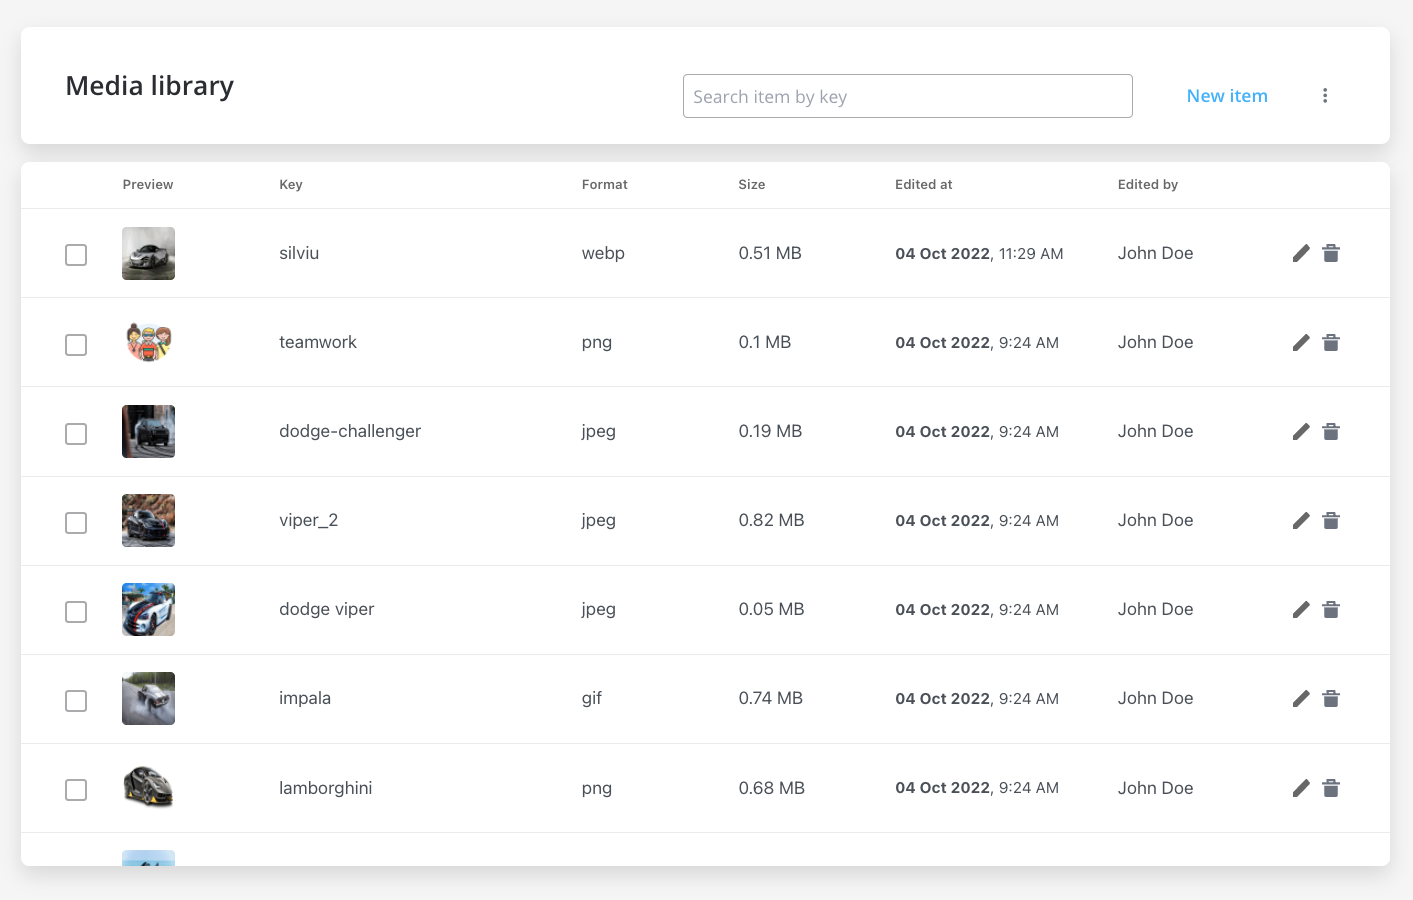
Users can preview all the uploaded assets just be accessing the Media Library.
You have the following information about assets:
- Preview (thumbnail 48x48)
- Key
- Format ("-" for unknown format)
- Size
- Edited at
- Edited by
Searching assets
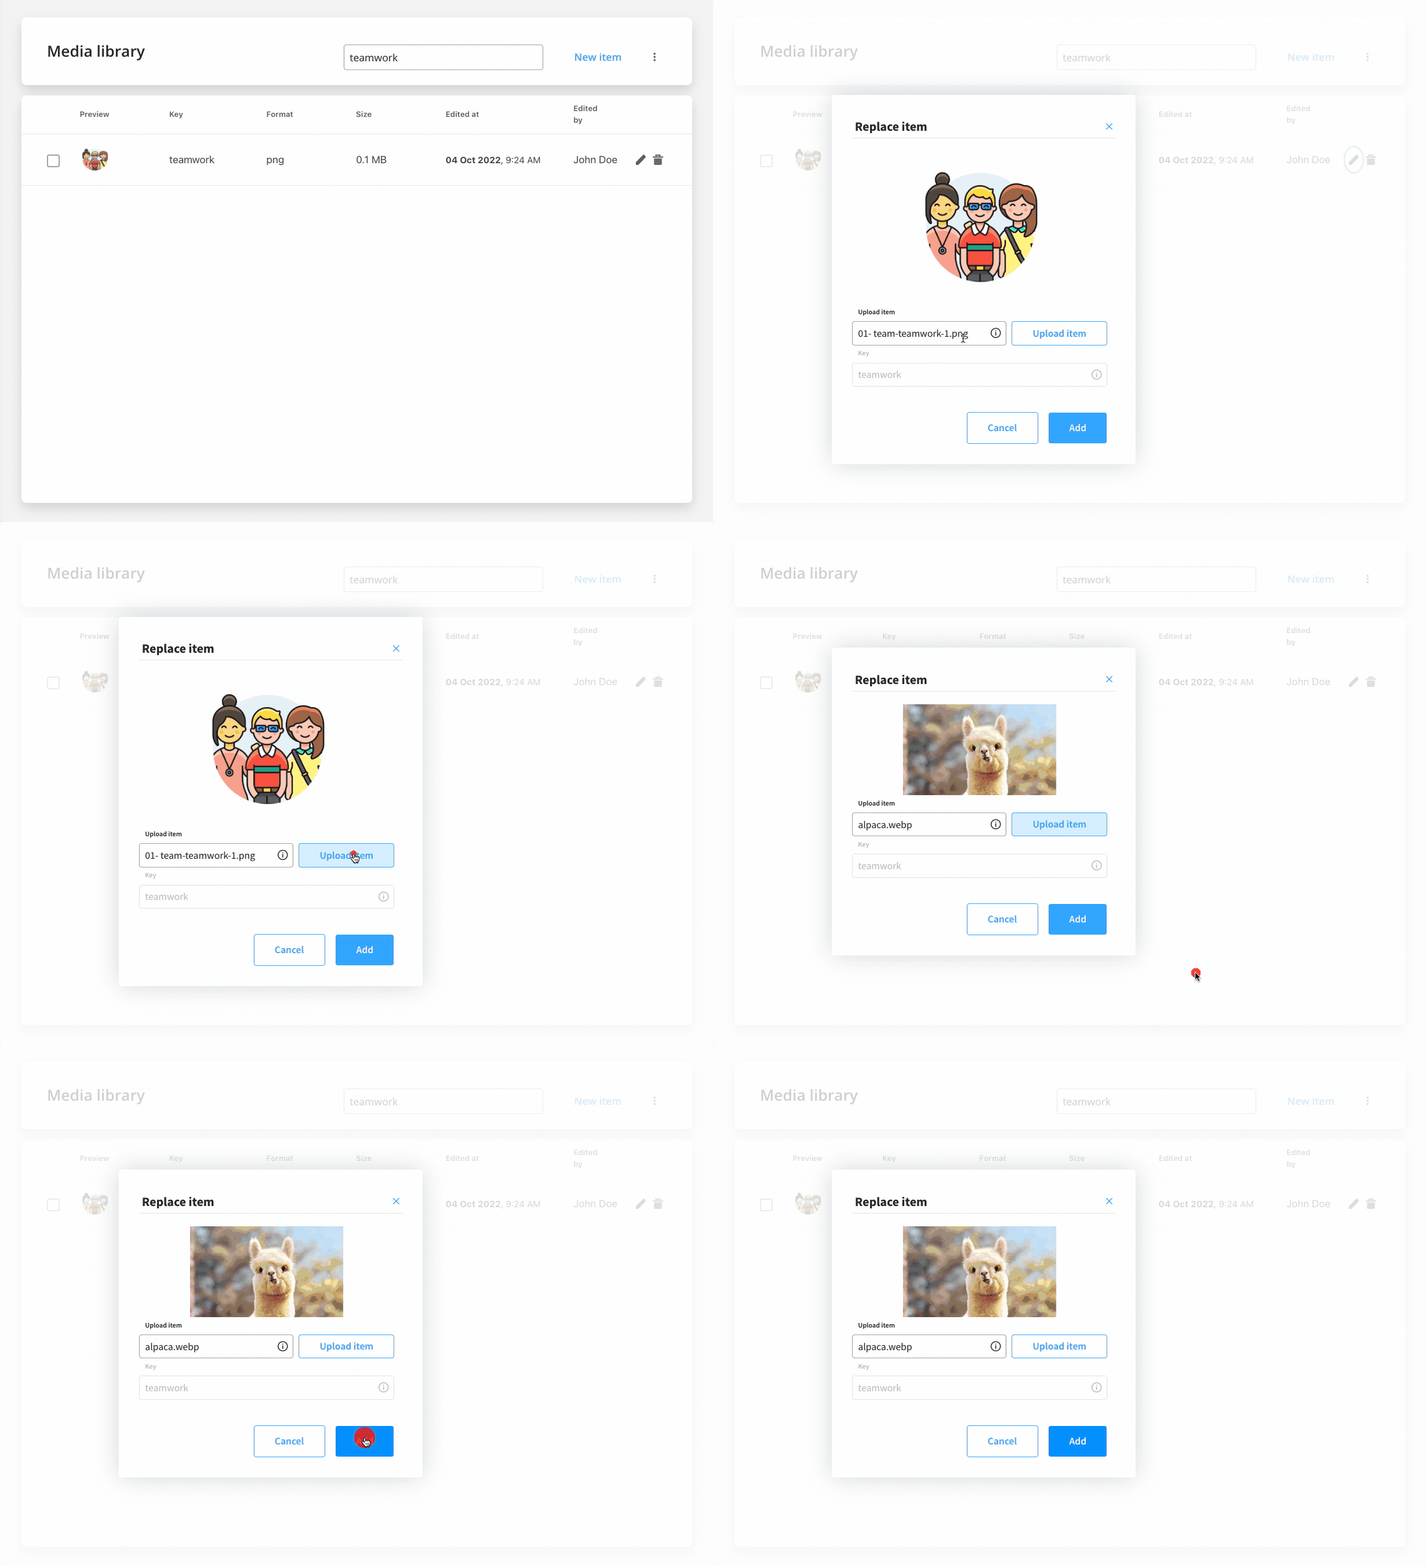
You can search an asset by using its key (full or substring).

Replacing assets
You can replace an item on a specific key (this will not break references to process definitions).
Referencing assets in UI Designer
You have the following options when configuring image components using UI Designer:
- Source Location - here you must select Media Library as source location
- Image Key
- Option 1: trigger a dropdown with images keys - you can type and filter options or can select from the initial list in dropdown
- Option 2: open a popup with images thumbnails and keys then you can type and filter options or can select from the initial list
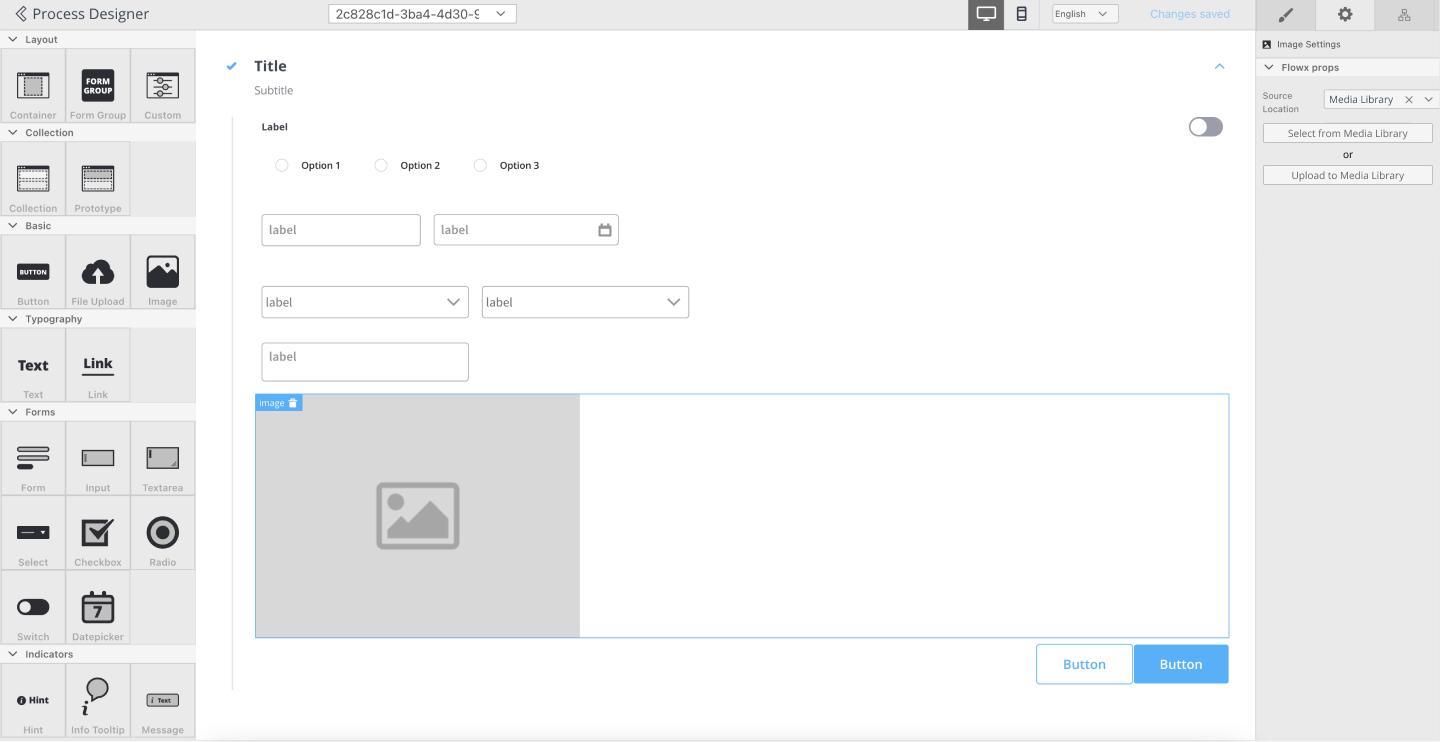
More details on how to configure an image component using UI Designer - here.